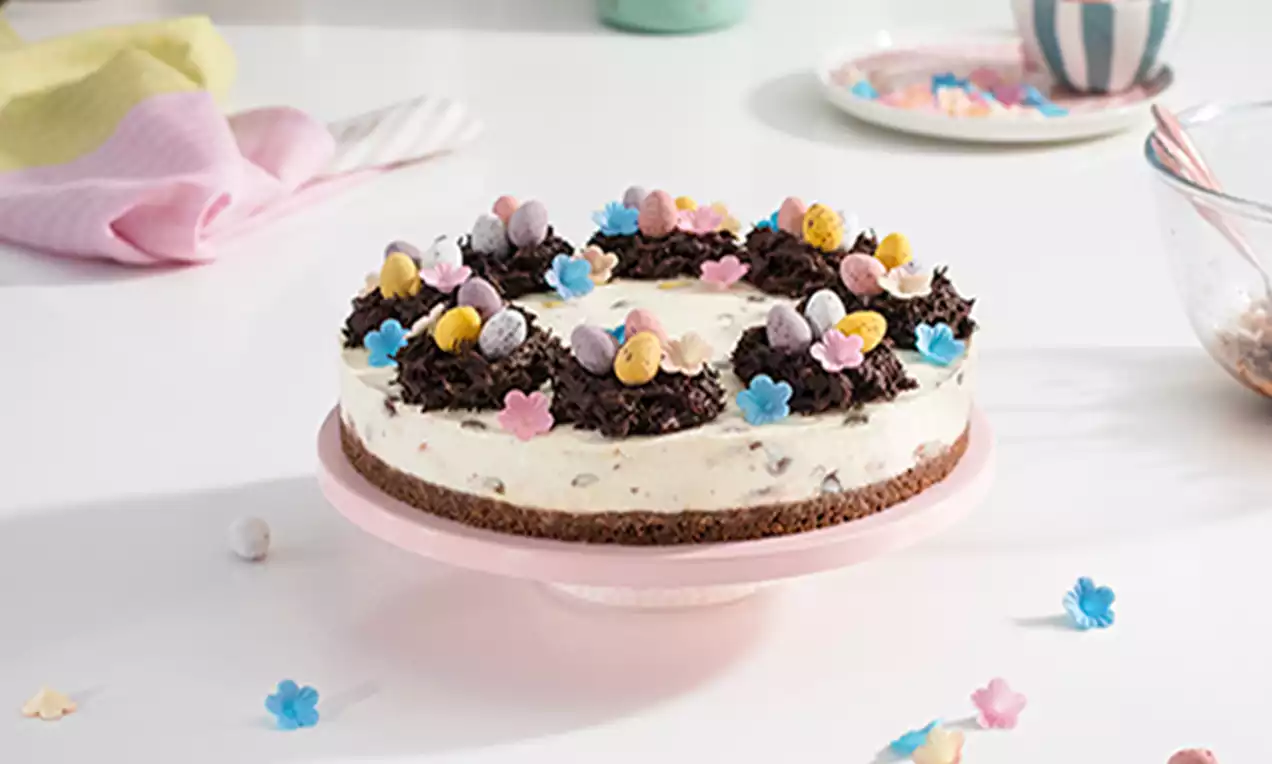

Chocolate Mini Egg Cheesecake
Recipe Ingredients


How to Prepare:
Let’s start with the basics. Or should we say, the base! Use a little of the butter to grease a 9” (23cm) non-stick springform cake tin. Then, drop the remaining butter and the Dark Chocolate into a large heatproof bowl. Set the bowl over a pan of simmering water and let it melt together gently, stirring occasionally.
Whilst that’s melting away gently, time to do something not so gentle at all! Pop the biscuits into a sturdy food bag, place on a solid surface and bash away with a rolling pin until you’re left with a soft bag of fine crumbs.
Now, back to that pan. Once the butter and Dark Chocolate are melted, tip into a bowl with your biscuit crumbs and mix everything together well. Once mixed, dollop into the prepared cake tin and spread evenly, pushing down firmly to compact your biscuity base. All set? It’s about to be! Pop into the fridge while you crack on with the filling.
Biscuity base done, now we’re onto the smoooooth centre. First, put the Leaf Gelatine in a bowl, cover with a little cold water and leave to soak for about 5 minutes.
Set aside about 25 chocolate eggs for the decoration and put the rest into another sturdy food bag. You know what’s coming next, right? Whack away with a rolling pin until you’ve got a smashing selection of smashed eggs. Careful though! Don’t bash them too fine as we’re going to want some large pieces in the mixture too.
Next, put the mascarpone and crème fraîche into the bowl of a stand mixer fitted with a paddle attachment and beat together. Not got a stand mixer? No worries! An electric hand beater and bowl will do the trick. Add the sugar and Vanilla Paste and beat again briefly to combine.
The next bit is easy-peasy lemon squeezy … literally! Heat the lemon juice in a small saucepan until warm, then squeeze out your softened gelatine sheets to get rid of any excess water before adding them to the warm juice. Stir for a few seconds until the gelatine has melted, then tip into the cheesecake mixture and keep beating until well combined. Finally, using a spatula, gently fold in the smashed chocolate eggs.
Take your base out of the fridge whilst you pour the cheesecake mixture on top, smoothing it out so its nice and level. Then pop the whole thing back in the fridge for a couple of hours to set firmly.
While the cheesecake is setting, you’re in for the best time … chocolate nest time! First, line a baking tray with non-stick baking parchment. Then, break up the Chocolate and pop into a large heatproof bowl. Set this bowl over a pan of simmering water and let it melt gently, occasionally stirring if needs be. As that’s melting, break up the shredded wheat biscuits with your hands until you have fine threads.
Once the chocolate is melted, tip the shredded wheat into the bowl and stir until it’s completely covered in the chocolate. Using two teaspoons (one to spoon and one to scrape), spoon eight circles of the mixture onto the prepared baking tray. Make a little well in the middle of each one to form them into nest shapes, before popping in the fridge to set.
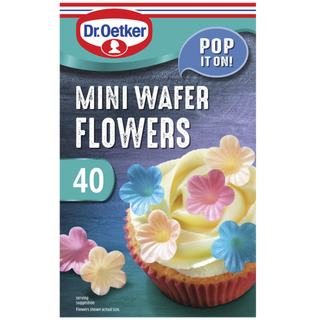
Once the cheesecake has set, run a warm palette knife around the outside to release the topping from the tin. Then, open the cake tin and slide the cheesecake out onto a serving plate. Top the cheesecake with the chocolate nests in a ring around the outside, then arrange three of the reserved chocolate eggs in each nest. The finishing touch? A few pretty wafer flowers carefully placed around the nests.
Ta-dah! We think you’ve absolutely smashed it with this bake (quite literally at points). All that’s left to do is sit back and chill whilst your bake does the same.


RELATED RECIPES
More delicious ideas for you
Seasonal Recipes
Halloween Ghost Cake Pops Recipe
Seasonal Recipes
Easter Nest Cupcakes
Seasonal Recipes
No Bake White Chocolate Cheesecake
Seasonal Recipes
Creme Egg Cupcakes
Seasonal Recipes
Crème Egg Cheesecake
Seasonal Recipes
Chocolate Halloween Cupcakes
Seasonal Recipes
Chocolate Mousse Cake
Seasonal Recipes
Day of the Dead Cupcakes

Chocolate Mini Egg Cheesecake
Prep:150 minutes12 slices