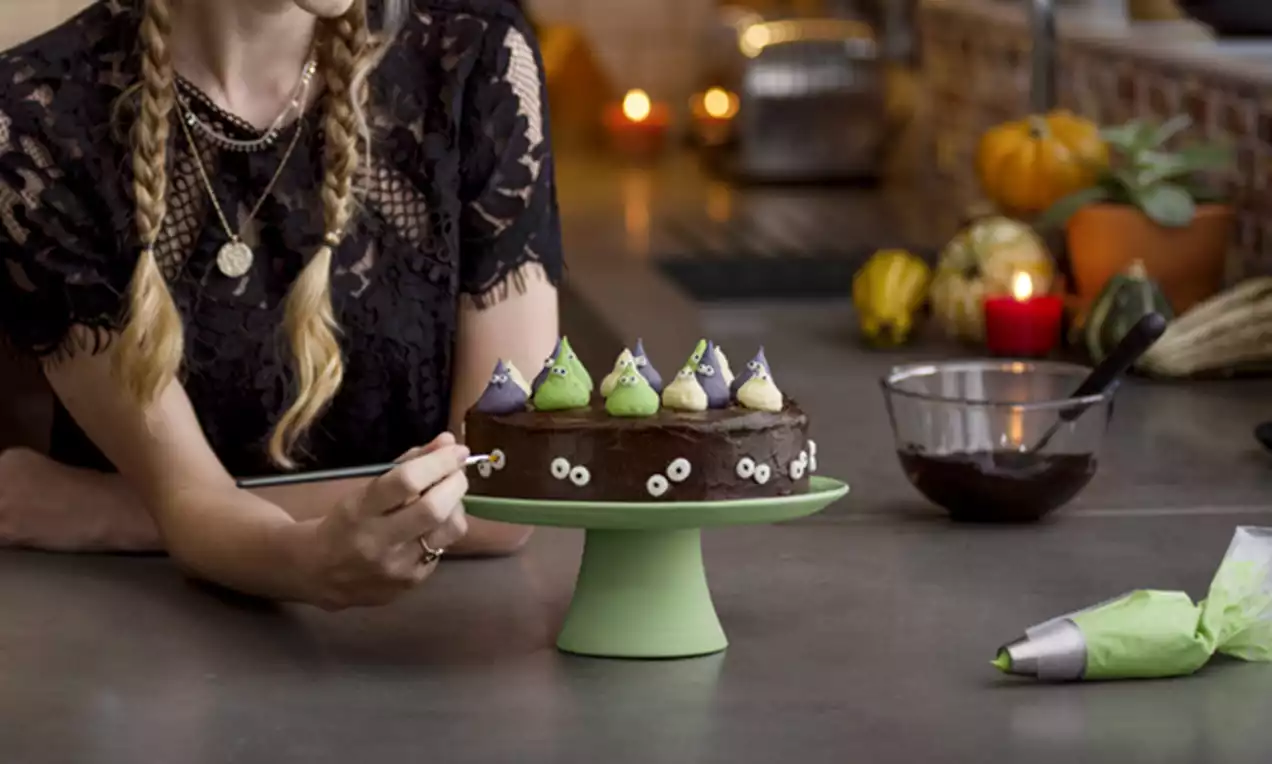

Halloween Buttercream Kiss Cake
Recipe Ingredients
Buy the Products


How to Prepare:
First off, preheat the oven to 170°C/160°C/Gas Mark 3 and grease and base line two 8” spring form cake tins (the ones with sides that can be removed from the base).
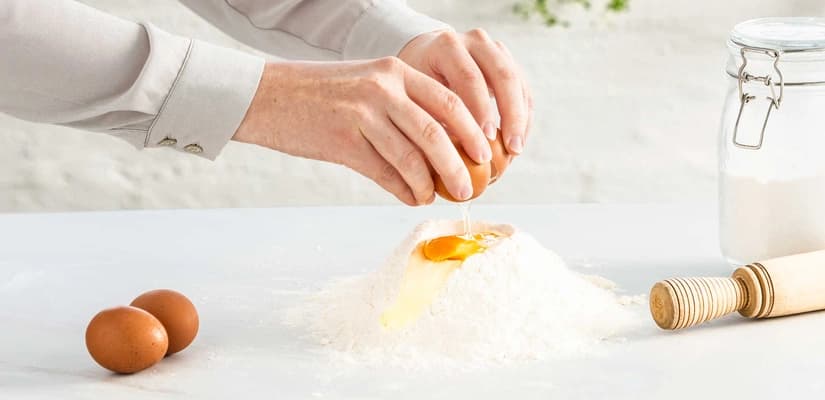
Now, to get this cake started! Place the caster sugar into a large mixing bowl, then sift in the flour, Cocoa Powder, Baking Powder and Bicarbonate of Soda. Add the milk, eggs and vegetable oil to the bowl and beat everything together until smooth.
Get the kettle on and pour 250ml of boiling water into the mixing bowl, before carefully whisking to a smooth batter. Then divide the mix evenly between the two cake tins (careful, it’s quite runny!)
Pop into the oven and bake the cakes for 40-45 minutes until risen, firm to the touch and when a skewer inserted into the centre comes out nice and clean.
Cool in the tins for 10 minutes, before removing from the tin and transferring to a wire rack to cool completely.
Grab a large mixing bowl and place the butter into it, then beat with a wooden spoon to soften. Beat in the icing sugar one tablespoon at a time until smooth, then beat in the milk and Vanilla Extract too. When the mix is looking pale, smooth and fluffy, you’re all done.
Now grab another two mixing bowls (or any large bowls you have) and divide the buttercream between your three bowls.
Time to get colourful! Drip the green colouring into one bowl, the purple to another and leave the remaining bowl plain.
Finally, transfer each buttercream to its own individual piping bag and get ready for the fun bit…
Once the cakes have cooled, use a serrated knife to remove any dome tops from the cakes. Place one of the sponges onto a serving dish to become your base layer. Spread half of the chocolate buttercream over the sponge and spread nice and evenly with a palette knife (or regular kitchen knife) over the top of the sponge and around the edges, covering the sponge entirely.
Place the second sponge on top and repeat with the remaining chocolate buttercream, smoothing the edges until you’re happy with the finish. Yep, this might take a little while but we promise it’s worth it! Happy? Pop the cake in the fridge for 15-20 minutes to firm up.
Chip chop! Grab your scissors and snip the ends of the buttercream piping bags about 1” from the end (Or if you happen to have a savoy plain piping nozzle, now would be a great time to use it!) To pipe the ghosts, hold the piping bag at a 90-degree angle to the cake, squeeeeeeze the bag at around 2cm height from the top of the cake, then release and lift the bag to form a peak. Pipe the ghosts sporadically all over the top of the cake in each of the three colours.
Now for the creepy bit … to make the eyeballs, knead a golf ball sized amount of the white fondant on a work surface or chopping board dusted with a little icing sugar. For the larger eyeballs, take a penny sized amount of the fondant, divide into two and roll between your fingers into balls. Flatten slightly then stick them to the side of the cake, repeating all the way around the edges. For the smaller eyeballs, do the same again but on a smaller scale. Don’t worry too much if they don’t all look the same! The more irregular the eyeballs, the creepier the effect.
And we couldn’t forget, make sure to stick a pair of eyeballs onto each ghost too. So pipe a little of the black Gel Colour onto a plate. Whip out your paintbrush, steady your hand, and delicately paint a blob of the black gel colour onto each eyeball to create pupils looking in all directions.
And that’s it - you’re done! Now the baking and decorating is over, the best part of this cake is yet to come. Present your spooky centrepiece at your Halloween get together and we can guarantee all eyes will definitely be on you!


RELATED RECIPES
More delicious ideas for you
Seasonal Recipes
White Chocolate Easter Bark
Seasonal Recipes
Bat Cupcakes
Seasonal Recipes
Reindeer Brownies
Seasonal Recipes
Christmas Cake
Seasonal Recipes
Halloween Brownies
Seasonal Recipes
Halloween Ghost Cake Pops Recipe
Seasonal Recipes
Gingerbread Men and Reindeers

Halloween Buttercream Kiss Cake
Prep:85 minutesabout 12 slices