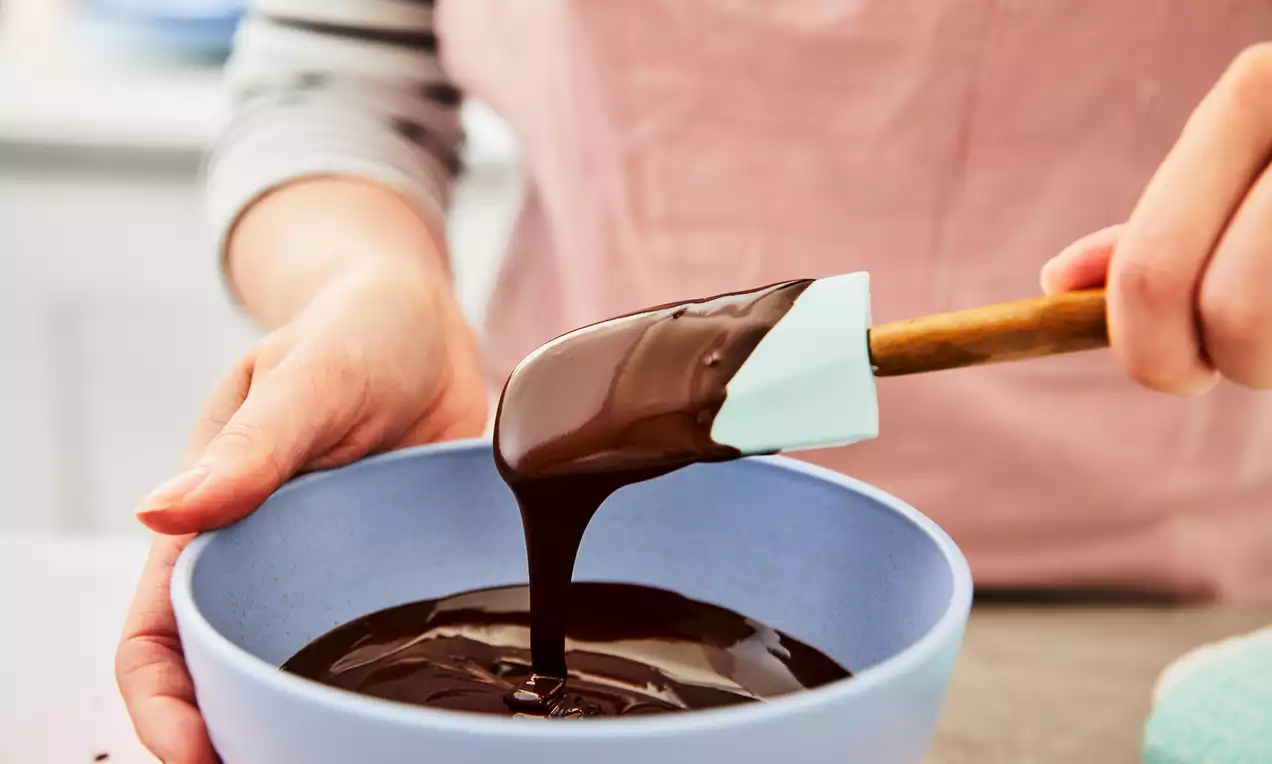
How to Melt Chocolate
Is there anything more delicious than melted chocolate? This decadent treat is an important part of many sweet recipes, whether it’s used to create a glaze for a cake or a drizzle effect over the top of a batch of buttery biscuits.
Melting chocolate couldn’t be simpler to do and it doesn’t require any elite baking skills. All you’ll really need is a heatproof bowl and either a working hob or a microwave. Keen to learn our fool-proof method? Here we share our expert tips on how to melt chocolate, plus some essential hints to help you avoid any chocolatey disasters.
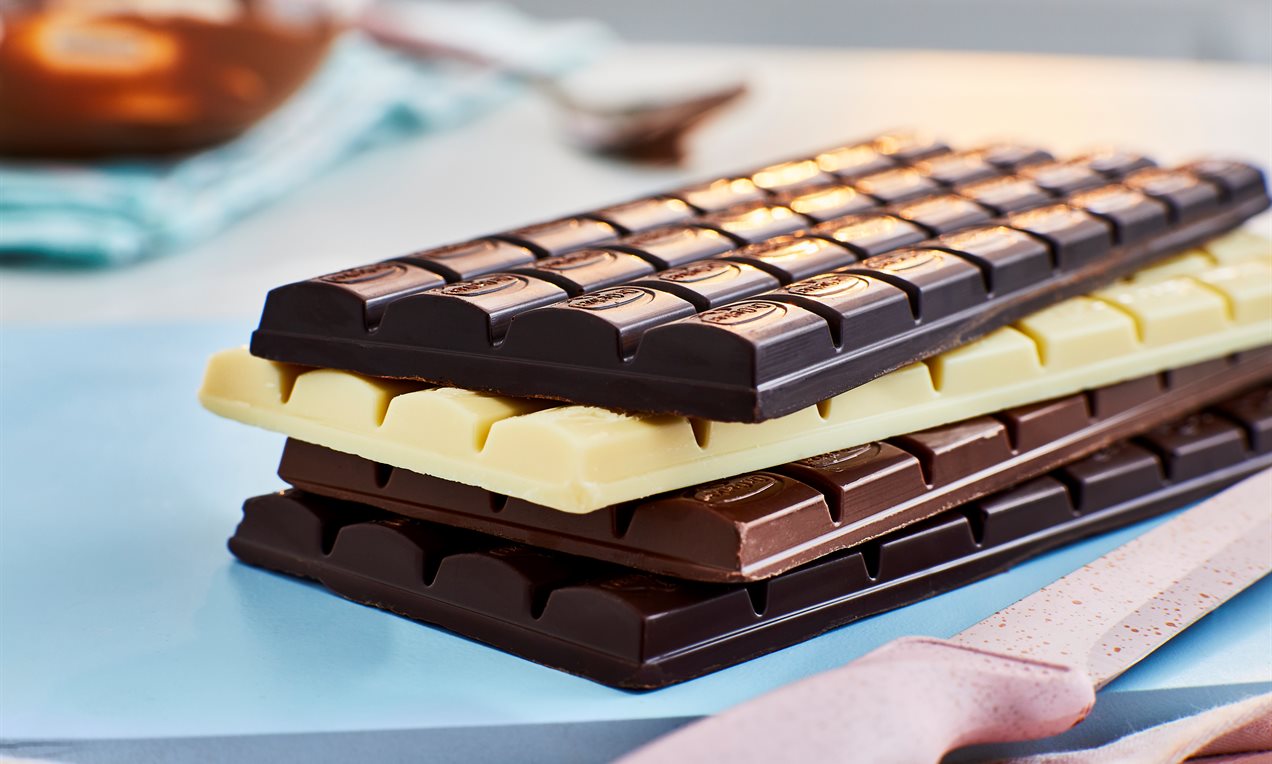
Before we begin, you might be wondering at exactly what temperature chocolate melts. This will differ depending on the type of chocolate you’re using. In general, the melting point of chocolate is between 30˚C and 32˚C. The best way to check if your chocolate has reached the right temperature is to use a cooking thermometer.
Top Tip: In general, white chocolate tends to melt at a lower temperature than milk or dark chocolate. This is down to several different reasons, from its higher fat and sugar content to the fact white chocolate normally contains more cocoa butter.
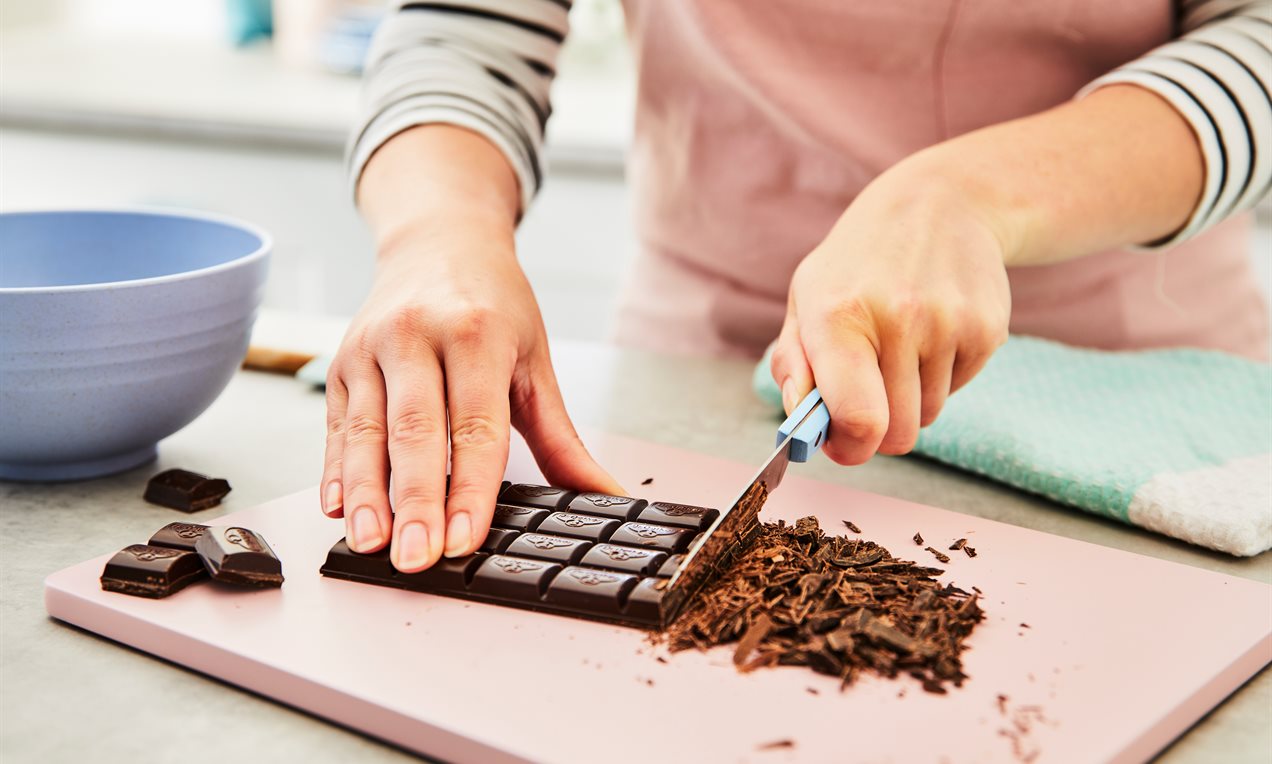
No matter what type of chocolate you’re trying to melt, it should be a simple task. There are two main ways we recommended doing it: either over your hob or in the microwave.
The more traditional way – and a method that works with every kind of chocolate – is to melt it over a pan of boiling water. To do this, simply:
1. Heat a pan of water on the hob and pop a heatproof bowl over the top. Make sure the bottom of the bowl isn’t touching the water at any point.
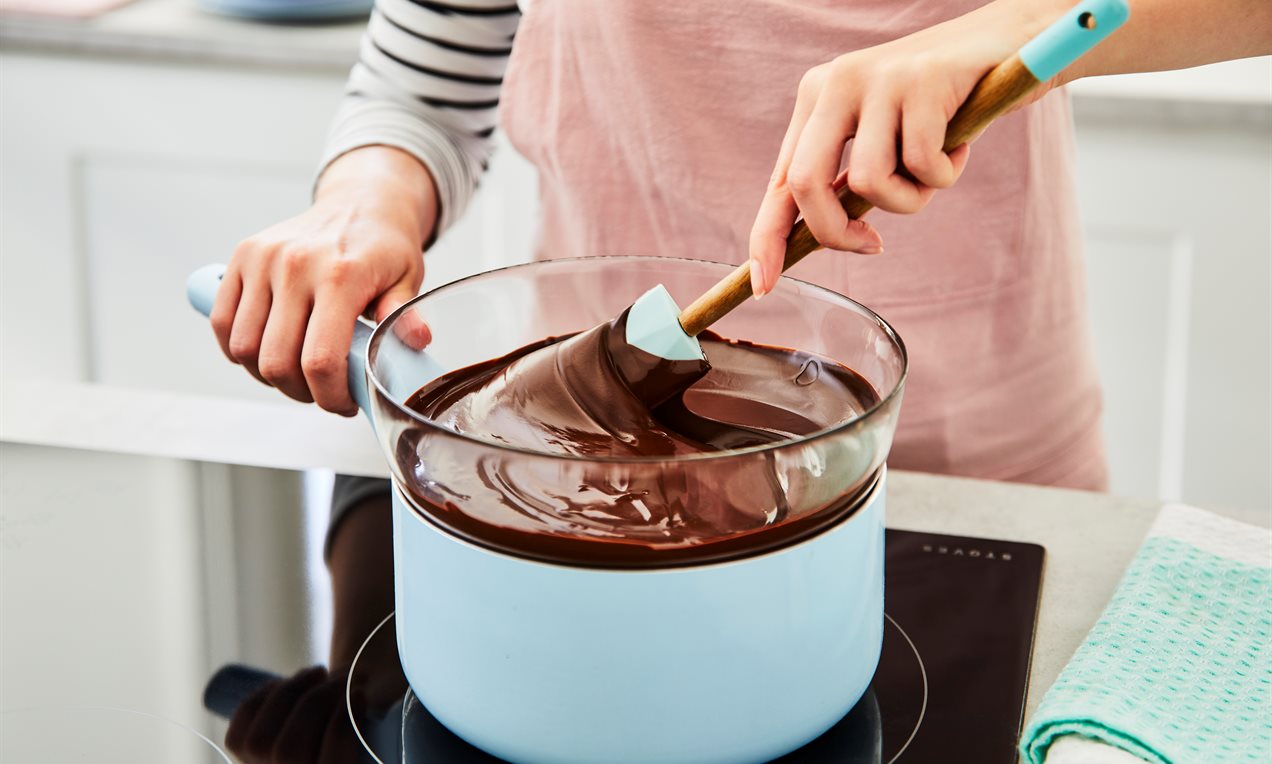
2. Chop, break up or grate your chosen chocolate and add it to the bowl. If you’re chopping or breaking, make sure the pieces are all similar sizes.
3. Let the chocolate melt slowly over a low heat and stir it occasionally.
4. Use a thermometer to check the temperature of your melting chocolate. If you’re melting dark chocolate, make sure it doesn’t go above 32˚C. For white and milk chocolate, avoid going above 30˚C or 31˚C respectively.
5. Once your chocolate is almost completely melted, remove the bowl from the heat. Stir the chocolate carefully with a rubber spatula, making sure you scrape any extra mix from the edges of the bowl.
Top Tip: Be careful not to let any water or steam from the pan enter your chocolate. Water and chocolate do not mix well and could cause your melted chocolate to become grainy.
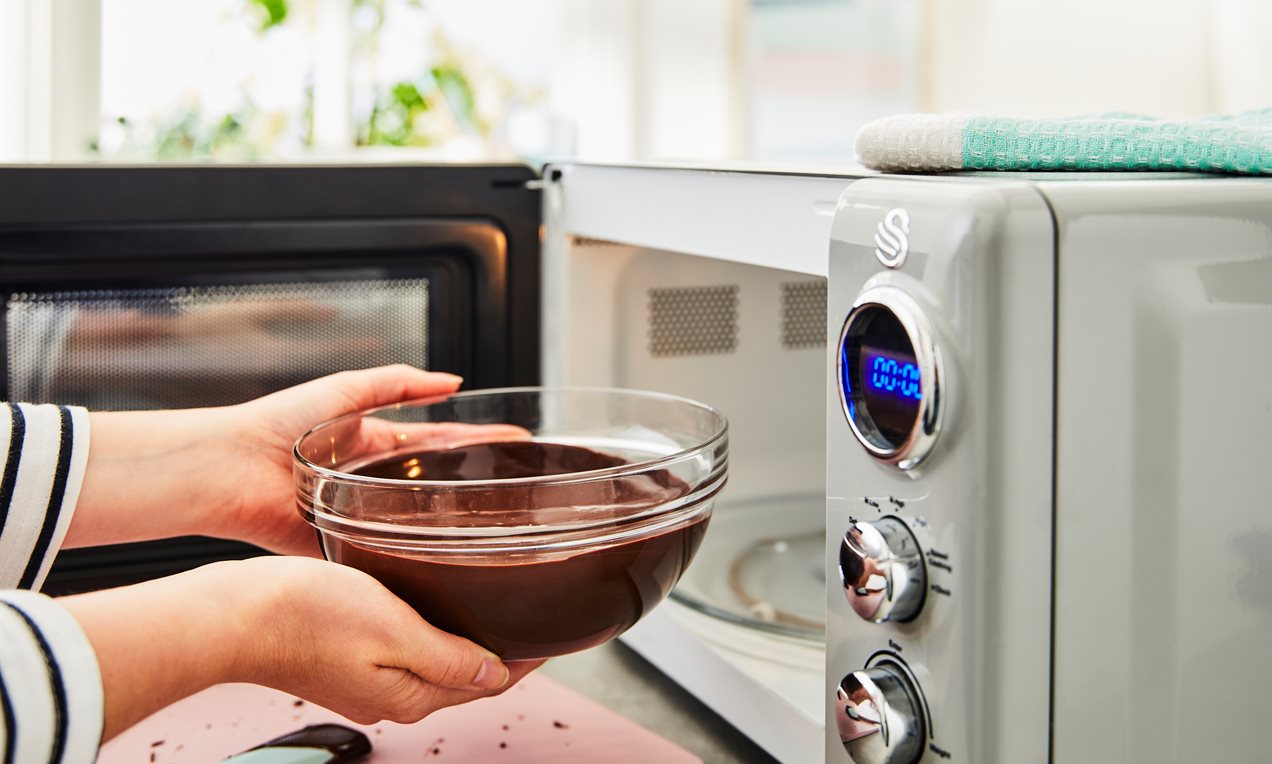
Not sure if you can melt chocolate in the microwave? The answer is yes! In fact, some people even find it easier to use this method rather than melting chocolate over a hob.
All you’ll need to do is break, chop or grate your chocolate into a heatproof and microwave-safe bowl. Place it in your microwave and heat it through for 30 second bursts, stirring the chocolate in between each burst. How long the process takes will depend on the type of chocolate you’re using. But don’t try to and rush it or you’ll end up accidentally burning the chocolate.
It’s possible to melt chocolate in a regular oven too. Preheat your oven to no more than 300˚C and then turn off the heat. Pop your chocolate chunks in a heatproof dish and place it in the oven. Leave it in there until the chocolate is almost melted, remembering to check the temperature occasionally with a thermometer.
If it’s creamy milk chocolate that you’re trying to melt, you can use either one of our melting methods above. All you’ll need to do is make sure the chocolate’s temperature never exceeds 31˚C or it may begin to burn. Using a microwave? Try heating your milk chocolate through in 20-second bursts instead.
Due to its low ratio of fat and sugar, dark chocolate typically has a higher melting point. So, what does this mean exactly? Simply that it’ll take slightly longer to melt than milk or white chocolate.
You can use either the hob or the microwave method to do this too. And because it’s less likely to burn, you can usually get away with stirring dark chocolate slightly less while it’s melting.
White chocolate is much creamier and sweeter than dark or milk. However, because of its higher fat and sugar content, it’s the trickiest type of chocolate to melt.
The melting point of white chocolate is lower than other types, sitting at 30˚C. This means it’ll take slightly less time to melt. You may also want to stir it more frequently to make sure it doesn’t start to burn to the bottom of the bowl.
Top Tip: If your chocolate starts to become too thick when you’re melting it, add a drop of vegetable oil to thin it out and make it easier to use.
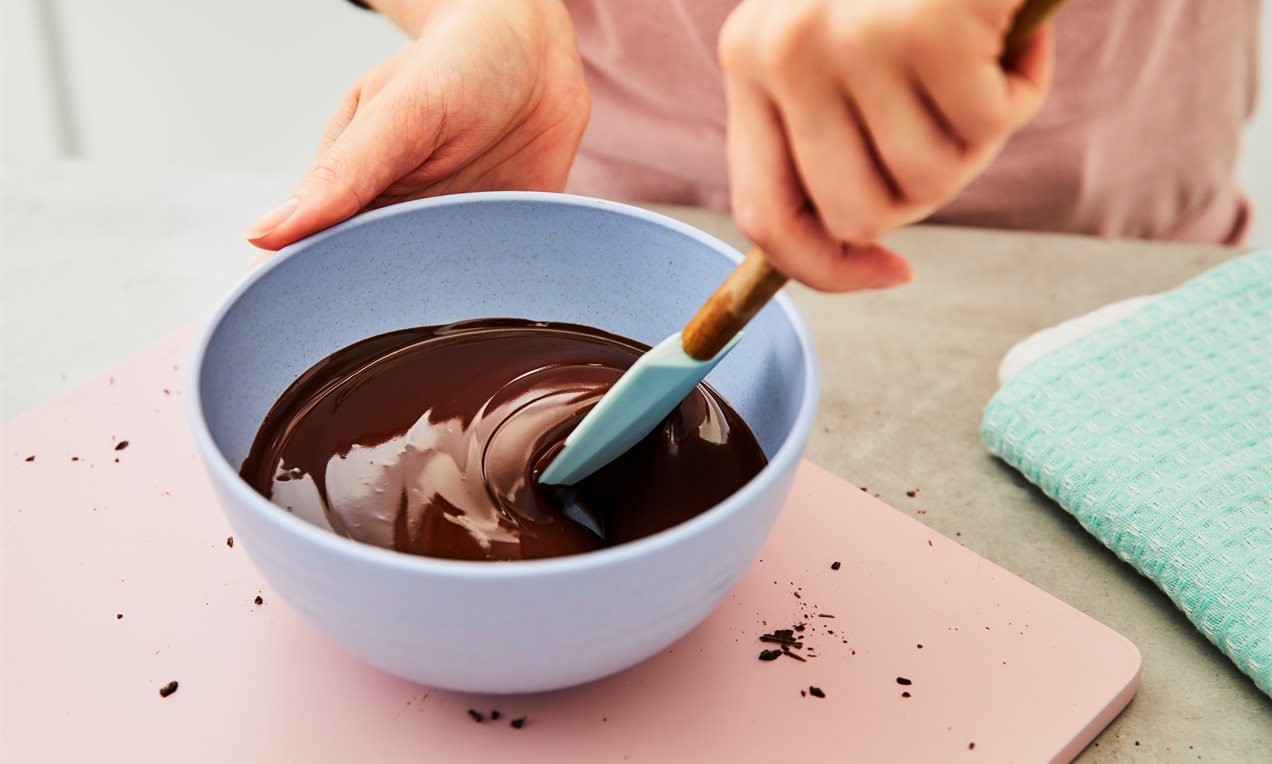
Want melted chocolate that has a lovely shiny texture when set? Try tempering it by melting ¾ of your chocolate and adding the remainder in after. You can then heat it again for a short amount of time until it has a smooth and glossy finish.
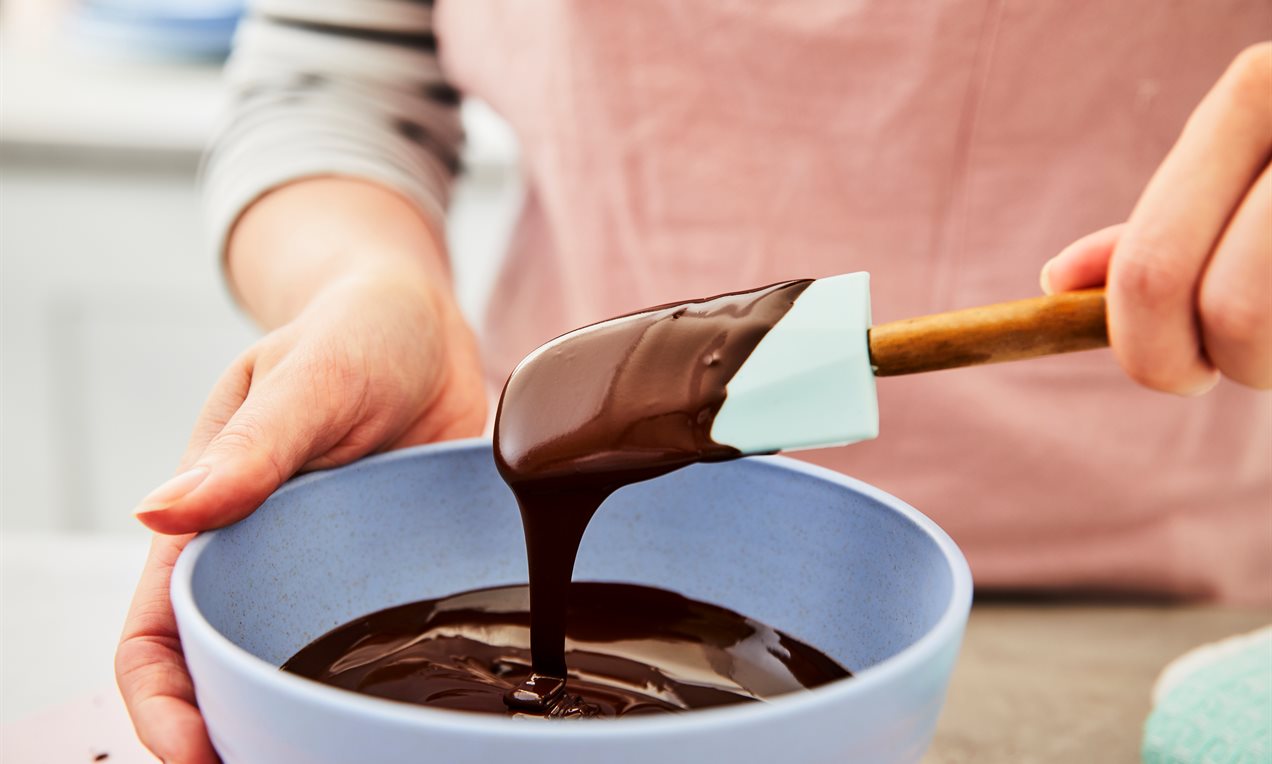
Lumpy? Burnt? Grainy? These are all common mishaps that can happen when you’re making melted chocolate. Thankfully, it’s often very easy to avoid them.
Let’s take a quick look at a few of the most common culprits of melting chocolate failures:
1. Rushing the process – heating your chocolate slowly is the key to melting success. This will also help you avoid burning it.
2. Using damp tools – water is a major enemy of melting chocolate. Make sure all your tools – from your mixing bowl to your spatula – are bone dry before you use them.
3. Not choosing good chocolate – the quality of your chocolate will have an impact on how well it melts. In general, you’ll want to look for one with a high amount of cocoa butter and avoid anything with added vegetable oils.
Which chocolate is best for melting?
While you can use any type of chocolate, dark chocolate will be the least likely to cause problems. That’s because it has a higher melting point and is slightly harder to burn than white or milk.
Why does melted chocolate go grainy?
Spotted some grainy bits in your melted chocolate? This is likely because you’ve overheated it. It can also be caused by water coming into contact with the chocolate. The best ways to avoid this is to use dry tools, take your time and regularly check the temperature of your melting chocolate with a thermometer.
How do you store melted chocolate?
If you’ve transformed your melted chocolate into shapes or simply have some extra that you’d like to save, you’ll want to store it in a cool, dry place. Try to keep it covered and away from direct sunlight or anything with a strong odour too.
Can you reheat melted chocolate?
Yes, it’s possible to reheat chocolate that’s previously been melted. Let the chocolate cool down completely and then store it in an airtight container, either in a cool spot in your kitchen or in the fridge. You can then melt it again later on using the usual steps.
Can you add coconut oil to melted chocolate?
Yes, coconut oil is a great thing to add to your melting chocolate if you want a smooth, more liquid consistency. It can also give it a luscious coconut flavour too. Add a tablespoon to your chocolate as it melts. It’ll then have a softer texture when it sets, making it ideal for dipping things into or using as icing for cakes.
Why has my chocolate bloomed? Will this affect the taste?
Bloom happens because the chocolate at some stage has been subjected to adverse temperatures, resulting in the 'bloom' which is present. This is a characteristic of chocolate and chocolate type products in which fats rise to the surface of the chocolate, giving it a whiteish-grey appearance. Although this may look unsightly, it does not affect the performance of the product, and when melted it returns to it's former state.
Mastering the art of melting chocolate will take your baking and dessert-making skills to a whole new level. Put this new knowledge into practice and explore our range of Chocolate Bars. Whether you prefer the creamy sweetness of milk chocolate, the richness of dark chocolate, or the velvety white chocolate, we have something to satisfy every taste. This decadent treat is an important part of many sweet recipes, whether it’s used to create a glaze for a cake or a drizzle effect over the top of a batch of buttery biscuits.
Need more help when it comes to chocolate?
Why not check out our How to Temper Chocolate page?