Chocolate & Hazelnut Cheesecake
Recipe Ingredients
How to Prepare:
Before we get baking, preheat the oven to 130°C/120°C/Gas Mark 1 and grease and base line an 8” loose bottomed cake tin.
Then away we go! Get the butter melting in a small saucepan, as you place the biscuits into a large mixing bowl and crush them up with the end of a rolling pin (or your fingers if you’re feeling strong.) Go on, give them a good bash!
Add the Cocoa Powder and melted butter to the crushed biscuits, stir to combine, then transfer to the cake tin your prepared earlier – Blue Peter style! When it’s all in, squish the base down with the back of the spoon so its pressed flat, evenly smooth and compact.
Place the chocolate & hazelnut spread into a non-metallic heatproof bowl and then melt in the microwave in 20 second bursts, stirring in between, until melted. Yep, we know, it smells amazing!
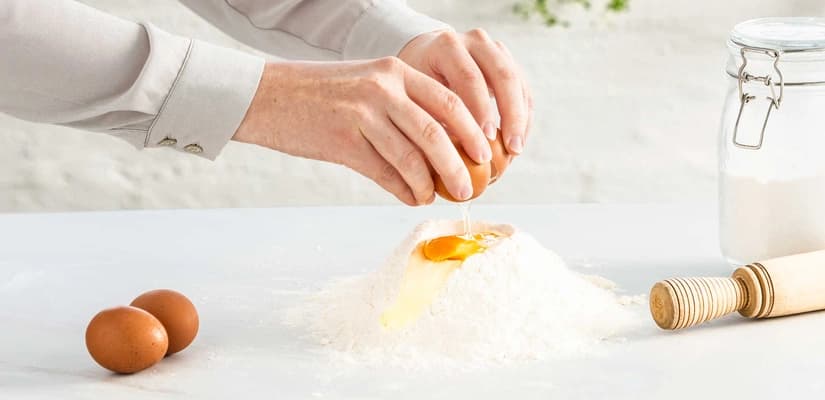
Next up, place the cream cheese, sugar, Cocoa Powder and Arrowroot together in a large mixing bowl and beat together until smooth. Fold in the cream, then add the eggs one at a time before folding in the melted chocolate & hazelnut too.
Now pour the mix into your prepared tin, pop into the oven and bake for 1 hour. When it’s set around the edges, but still has a bit of a wobble in the middle, turn off your oven and allow to cool in the oven for 1 hour. Why? Well, it’ll allow the cheesecake to cool down gently, preventing it from cracking.
When the hour’s up – pop it in the fridge overnight to set.
To make the ganache, finely chop the chocolate and weigh out the hazelnut spread.
Place the cream into a saucepan and heat, when the cream is almost boiling remove from the heat and add both the chocolate & hazelnut spread to the pan. Allow to sit for 1 minute before stirring together to a smooth ganache.
Pop 2/3 of the ganache into the fridge to set (we’ll use this to add the piping detail later). Keep the remaining 1/3 at room temperature for the drip.
Now, the moment of truth – getting your cheesecake out of the tin smoothly! Stay calm, we’ve got this! First, you’re going to run a knife around the edges of the tin to loosen, before releasing the springform.
Next, you’re going to carefully lift the cake off the base, using a palette knife or table knife for leverage if the edges are sticking. Now carefully remove the paper and place onto a serving dish. Phew, you did it!
Next up is the drip. Check your room temperature ganache is still free flowing. If it’s set a little – no worries! It can be heated in the microwave for 10 to 20 seconds to loosen. Spoon the ganache over the top of the cake and gently spoon drips down the edge of the cake.
Pop some gold lustre into a small bowl and mix through a few drops of vodka to create a liquid gold paint consistency, then dip a fine paintbrush into the liquid. Now, this bit might get a bit messy, so careful what you’re facing! Aiming at the centre of the cheesecake, flick the paintbrush against the index finger of your other hand to create a gold splatter effect. Splatter the top and sides of the cheesecake. And if you do get a bit on your worktop? Don’t worry, it wipes off most surfaces nice and easy.
Once your refrigerated ganache has set, transfer to a piping bag fitted with a large French star nozzle (We used a Wilton 6B if you know your nozzles!) Hold the piping bag at a 90 degree angle to the cheesecake, squeeze the bag at around 2cm height from the top of the cake then release to form a peak. Niiiiice! Repeat this technique all the way around the edge of the cheesecake.
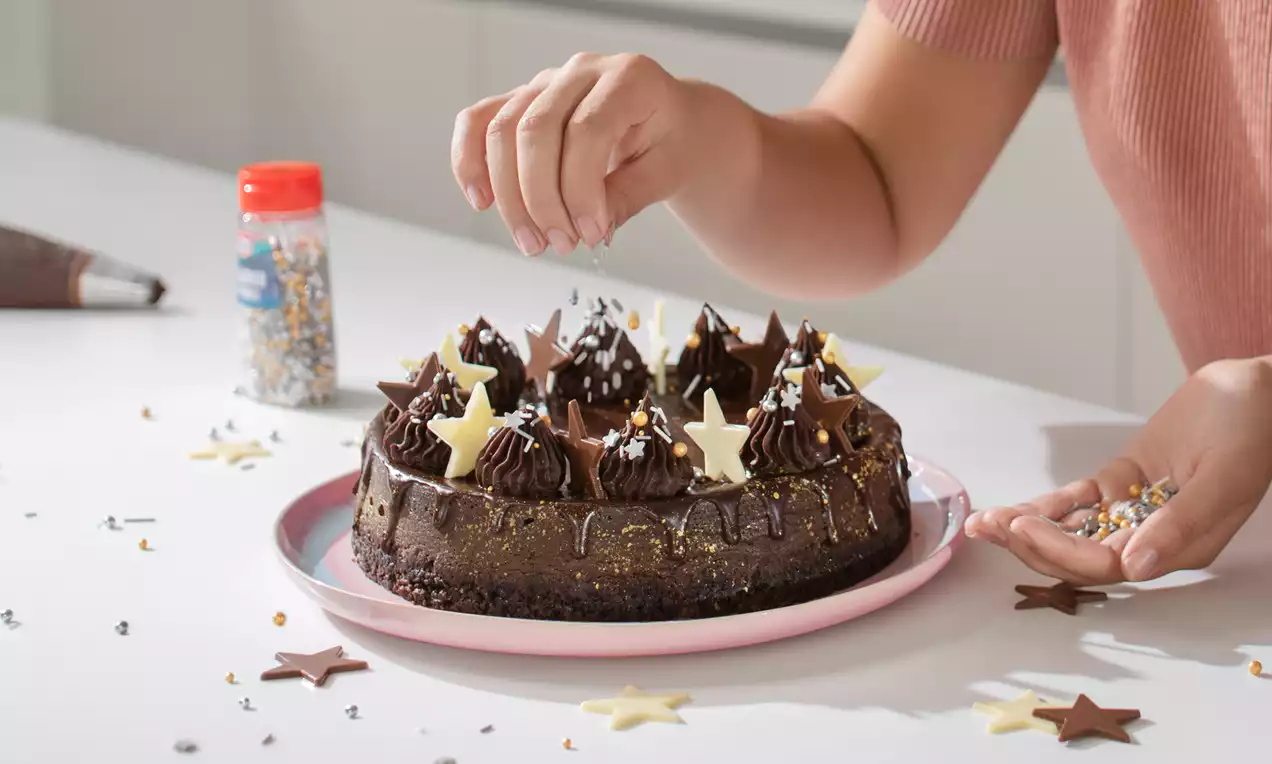
Oh so nearly done now! Finally, place giant chocolate stars around the edge of the cheesecake in-between your pretty piping blobs, alternating between white and milk chocolate.
One final scatter of Glamour and Sparkle Sprinkles and WOW! Your festive wonder is ready to serve. Just pop back in the fridge until the big moment. Psssst, you best tell everyone to go easy on the main course because once dessert comes round, they’ll definitely go hazel-nutty for your sprinkly showstopper!
RELATED RECIPES
More delicious ideas for you
Seasonal Recipes
Challah French Toast
Seasonal Recipes
Chocolate Halloween Cupcakes
Seasonal Recipes