Chocolate, Blackberry & Caramel Pavlova
Recipe Ingredients
How to Prepare:
To get started, pre-heat the oven to 140°C/130°C fan/Gas Mark 1. Then, dig your pencils out and draw a 7” circle on a piece of grease-proof paper and place on a large baking tray. Struggling to draw the perfect circle? Simply draw four 7” lines, all meeting in the middle to create a star, then join up the outer points with a curved line!
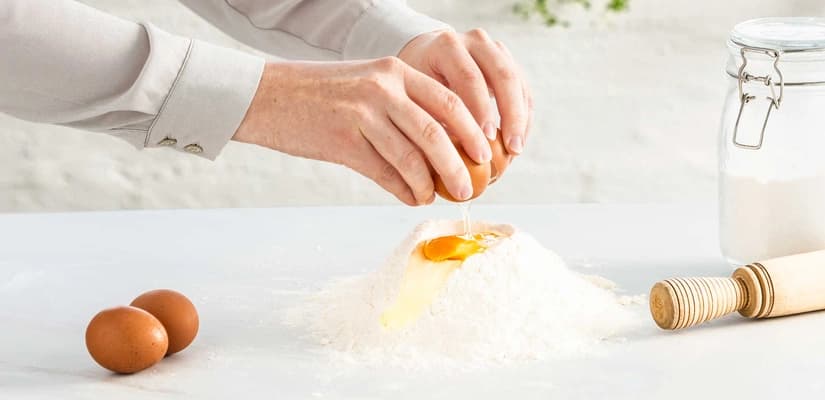
Separate your egg whites and place into the bowl of a free-standing mixer with whisk attachment, then whisk away until frothy. At this point, add the cream of tartar and egg white powder to the mix and whisk on a high speed until soft peaks form.
In a separate bowl, blend the two sugars together. Gradually add the sugars to the egg whites as you whisk. Do this one spoonful at a time, ensuring the sugar is well mixed into the meringue after each addition.
Continue to whisk the meringue until it’s thick, glossy and smooth. Not sure if it’s the right texture? Rub a small amount of the mix between your thumb and forefinger. If you can feel any sugar grains, you need to continue to whisk for a minute or two longer until completely smooth. If not, you’re good to move onto the next step.
Combine the cornflour and vinegar in a small bowl and stir together, before adding to the meringue and whisking through. Decant half of the meringue mix into a large mixing bowl and gently fold through the cocoa powder, being careful not to knock out too much air.
Grab your circle from earlier and using it as a guide, place alternating spoonfuls of the plain and chocolate pavlova mix onto the prepared baking tray. Pile the mix nice and high, then gently smooth with a spatula to marble the two colours together.
Pop in the oven and bake the pavlova for 15 minutes. Then, reduce the oven temperature to 100°C/90°C fan/Gas Mark ½ and continue to bake for a further 90 minutes.
Turn the oven off and allow the pavlova to cool down in the oven for 1-2 hours. If you’re not using it straight away after that, store in an airtight container until ready to decorate and serve.
Place the sugar and water into a saucepan and bring to the boil. Measure the cream into a jug and keep close to hand, along with a whisk, whilst the sugar boils.
Watch the sugar closely and once it starts to turn golden brown, pour in the cream. Carefully whisk together, being careful as the sugar bubbles up.
Once incorporated, remove from the heat, whisk in the caramel flavouring and set aside to cool completely.
Place the blackberries, sugar and water into a saucepan and bring to the boil. Simmer for 2 to 3 minutes until the blackberries have softened.
Pass the coulis through a fine sieve. As you do so, reserve the syrup and discard the seeds.
Finally, return the coulis to the saucepan, whisk in the arrowroot and bring to the boil once more whilst stirring continuously. Boil for 1 minute then remove from the heat and allow to cool.
Place a smooth chopping board (marble or glass will work best) into the fridge and place a small plate into the freezer to cool for 1 hour.
Melt the chocolate in a heatproof bowl in the microwave in 20 second bursts, stirring in between, until melted.
Pour the melted chocolate onto the cool chopping board and spread thinly with a palette knife. Then pop back in the fridge for a couple of minutes until completely set.
Now for the tricky bit! Use the edge of the palette knife to carefully shave the chocolate towards you, creating crisp curls as you go. Carefully transfer the curls to the chilled plate and return to the freezer until needed.
Place the cream and icing sugar together in a mixing bowl and whisk to soft peaks.
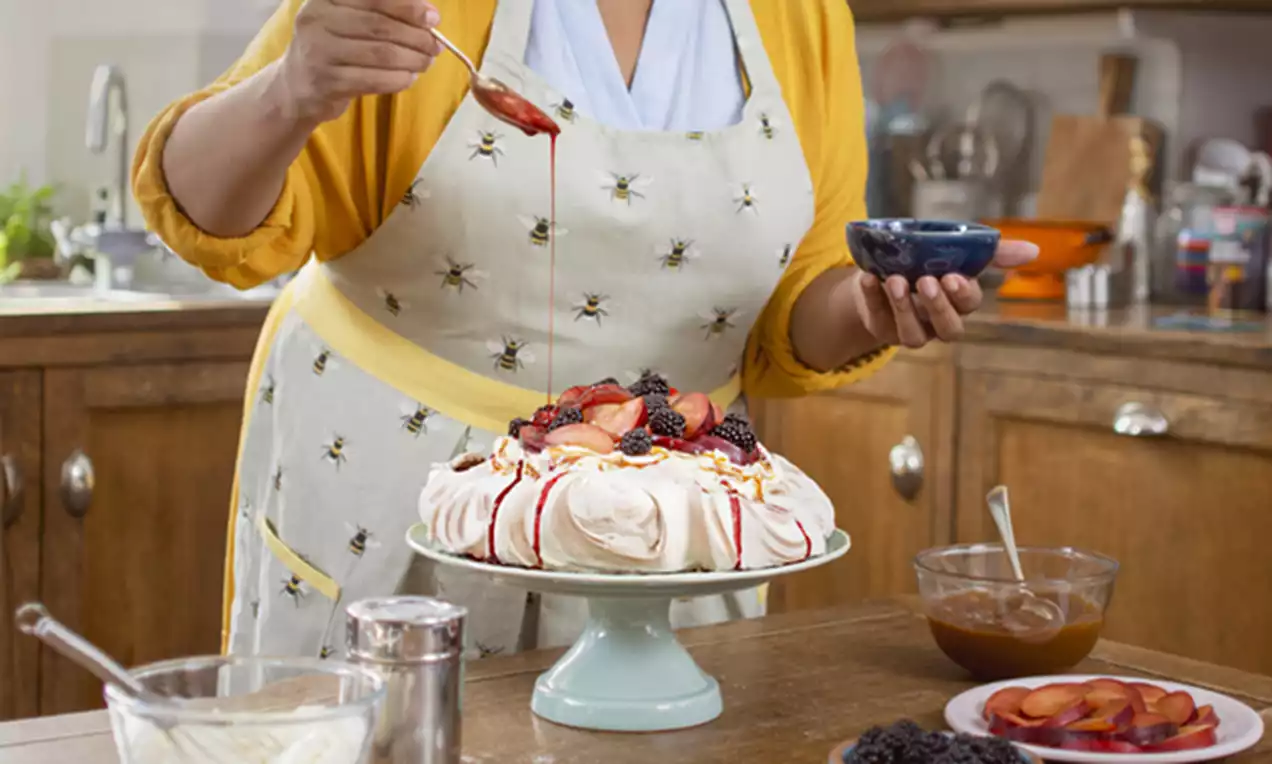
Then, grab your pavlova and transfer it to a serving plate. Once it’s in position, dollop the cream on top and drizzle over a couple of tablespoons of the caramel. Smooth the cream and caramel towards the edges of the pavlova.
Halve, stone then slice the plums and arrange on top of the cream, along with the blackberries. Use a dessert spoon to drizzle over the blackberry coulis, finish with a sprinkling of chocolate curls.
And just like that, your decadently delicate pavlova is perfected! Serve up with a little pot of extra coulis or cream, and watch everyone crack in to the crumbly, crispy, fresh and fruity goodness. Just be warned … it’s going to get messy!
RELATED RECIPES
More delicious ideas for you
Baked Vanilla Cheesecake with Blueberry Compote
Raspberry Cheesecake
Coronation Trifle
Chocolate Cheesecake
Vegan Peanut Butter Cake
Vegan Pavlova
Chocolate Baileys Mousse Dessert