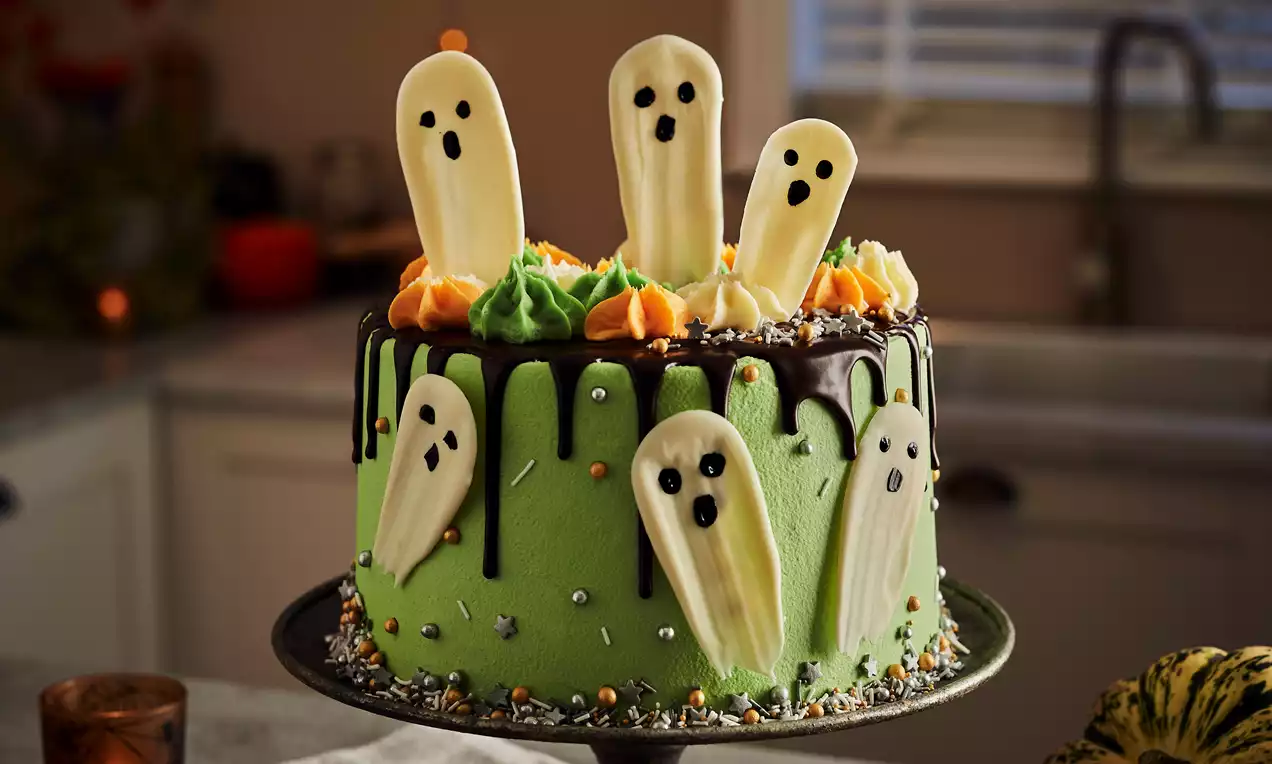
Halloween Chocolate Orange Ghost Cake
Recipe Ingredients
Buy the Products
How to Prepare:
Before we crack on, get the oven warmed up to a toasty 160°C/150°C/Gas Mark 3 and grease and base line 4 x 7” spring-form cake tins (2 ¾ inch deep).
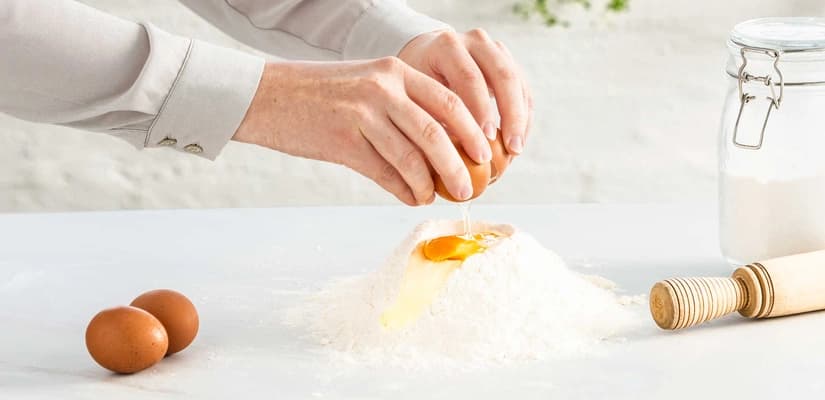
Now, let’s get into it! Place the Extra Dark Chocolate, sugar, butter and water into a saucepan and heat gently until it’s juuuuust melted. Then, allow to cool until you can comfortably hold your little finger in the mixture for 15 seconds. Once cool, beat in the eggs and Vanilla Extract.
Sift the flour, Cocoa Powder & Baking Powder into a large mixing bowl. Then, add the melted chocolate and egg mixture to the dry ingredients and gently whisk to combine to a silky-smooth batter.
Divide the mixture between the four cake tins, smooth out the tops and pop in the oven for 30-35 minutes- until your risen sponges are firm to the touch and a skewer inserted into the centre comes out nice and clean.
Cool in the tins for 10 minutes, before removing from the tin and placing onto a wire rack to cool completely.
Place the butter, Orange Extract and half of the icing sugar into a large mixing bowl or the bowl of a freestanding mixer and beat until light and fluffy. Sift in the remaining icing sugar and beat again until they reach the same fluffy consistency.
For the bold orange filling, place 400g of buttercream into a separate mixing bowl, add the Orange Zest and Orange Gel Colouring and beat until well incorporated.
Nope, we’ve not forgotten the decoration! Firstly pop 100g of the remaining uncoloured buttercream to one side. For the ghoulish green exterior, add the Green Gel Colouring to the remaining buttercream and beat well to combine.
Break up the Dark Chocolate into small chunks and set aside. You’ll need them in a minute.
Pour the cream into a small saucepan and keep your eye on it, heating until it’s just on the brink of boiling.
Once simmering, remove from the heat and it’s time to add the chocolate! Carefully plop the chunks into the cream, along with Glucose Syrup. Allow to sit and melt for a minute, before whisking it all together until ta-dah! You’ve got a smooth ganache.
But we’re not leaving it at that. For an extra spooky vibe, gently whisk in the black colouring until well combined. Finally, transfer the ganache to a piping bag and allow to cool for 10 minutes.
Ok, this is the super fun bit. The bit that really makes this cake stand out from the crowd! To make your ghosts, first melt the White Chocolate in a heatproof bowl in the microwave in 20 second bursts, stirring in between, until melted. Whilst it’s in the microwave, you can crack on with lining a couple of baking trays with greaseproof paper.
Once melted, use a teaspoon to blob a small spoonful of chocolate onto the greaseproof then use a pastry brush (silicone is best) to drag the blob of chocolate in one direction to create a brushstroke effect. Don’t have a brush? The back of a spoon will do. Repeat until all the chocolate is all used up, then pop the trays into the fridge to set.
Once set, time to create a few screams! Add eyes and mouths onto the ghosts using a spoonful of chocolate ganache mixed with 4-5 drops of Black Gel Colour, painted on with a fine tipped paint brush. Return the ghosts to the fridge until ready to assemble.
Getting a bit crammed in your fridge? Well good news – it’s time to take your cakes out! Make sure they’ve fully cooled, then use a serrated knife to remove any dome tops. Take your first layer and place onto a cake board, or a plate slightly larger than your 8” cake.
Then put aside 100g of the orange coloured buttercream for decorating, and add 1/3 of the remaining orange coloured buttercream to the top of your first layer, smoothing out with a spatula.
Add the second layer of cake on top, repeat the filling process. Then, you guessed it, repeat again for the third layer, before placing the final layer of sponge on top.
Use the green buttercream to spread a thin layer of crumb coat all over the cake, then pop back in the fridge to chill and set for 1 hour.
Once the crumb coat has set, remove from the fridge. Setting aside 100g of green buttercream for decoration, spread the remaining green buttercream over the cake in a nice thick layer. Smooth with a palette knife or cake smoother to achieve a smooth finish. Pop the cake in the fridge to chill for 30 minutes.
Now let’s get those drips a-dropping! Snip the end off the ganache piping bag and pipe the chocolate around the edge of the cake. As you go, pipe over the edge of the cake at 1cm intervals to create drips that slowly fall down the sides and prepare to be mesmerised.
Ok, stop staring at your drips. Once the edge is coated, pipe the remaining ganache into the centre of the cake and gently smooth it out towards the edges.
Now, grab your reserved buttercreams and place into into piping bags fitted with open star nozzles (fancy!) Pipe alternate colours over the left-hand side of the cake, leaving the ganache exposed on the right side.
Oh so gently peel the ghosts away from the greaseproof and stick them around the cake wherever you think they look best. Between the drips, floating up over the edge, stuck into the top of the cake. You could even add a few to the far side – peeking over the back of the cake!
Whip out your Glamour and Sparkle Sprinkles and add a liberal sprinkling around the base of the cake to finish and pop the whole thing back in the fridge to prevent a melty mishap.
When the time comes to present your masterpiece, we guarantee there’ll be squeals. So quick! Slice it up, show off your layers and silence the screams with bite of chocolate orange bliss.
RELATED RECIPES
More delicious ideas for you

Seasonal Recipes
Halloween Bat Loaf Cake Recipe

Seasonal Recipes
Halloween Chocolate Slash Cake

Seasonal Recipes
Woodland Christmas Yule Log Cake